Dash cams are becoming more popular for fleets as they increase safety and savings for everyone involved. They can monitor unsafe driving behaviors and alert fleet managers to drivers who may need coaching or might even just need a break from the road for a bit. They have been proven to increase road safety, and dash cams like Azuga’s SafetyCam even have rewards for drivers who exhibit safe behaviors. This program further encourages safe driving. Dash cams will only become more common, but how do they work, and how can you get them for your fleet?
How Do Dash Cams Work?
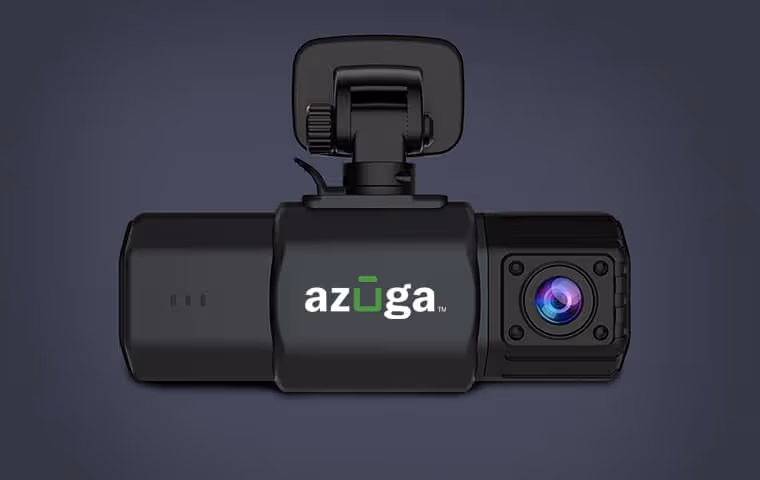
There are many different dash cams with a variety of features. Azuga’s SafetyCam, for example, is dual-facing and records both the road and the cab to give a comprehensive picture of everything going on. The dash cam’s artificial intelligence processes footage and determines the causes of risky events. The in-cab camera can catch distracted behaviors such as phone use, eating, and drowsy driving, while the road camera can catch swerving, speeding, and of course, accidents. It can pair with the telematics system to alert you to hard braking, rapid acceleration, and other risky driving behaviors. When the system detects one of these behaviors, it first cautions the driver, then, if the problem continues, sends an alert to the fleet manager in real-time so they can intervene if needed.
How To Install a Dash Cam
When you receive your dash cam, it will come with the following:
- Azuga 4G device
- 12V power adapter
- SafetyCam mounting bracket
- Extra bracket adhesive strips
- Installation tool
- Adhesive-backed cable holders
When you are ready to install the dash cam, locate the OBD-II port and install the Azuga 4G device. The OBD-II port should be within two feet of the steering column. Within two minutes of plugging the device in, it should light up. If any errors come up on your dashboard when you plug in the OBD device, reach out to Azuga support at the provided email address or phone number, and we will be able to help you with any issues.
The next step is to determine the best location for your camera. Usually, it’s best to place the camera centered below the rearview mirror. Once you have decided where you wish to mount the dash cam, you can clip the mounting bracket into the slot on top of the camera. This step may require a bit of pressure. The camera can rotate, but the side that faces the driver should have four LED indicator lights. To get the best view of the driver, have a second person hold the camera to ensure it has a clear view of the driver in a typical seated position.
When you are ready to adhere the camera, make sure the mounting location is clean. Then, remove the plastic covering from the adhesive strip on the mount and press it firmly where you want to mount it. Then, plug the Micro-USB end of the power cord into the top of the camera. Begin routing the power cord using adhesive-backed cable holders. You can use the installation tool to tuck the cord into joints and weather stripping. To get the best results, use a 12V socket that switches on with the ignition. When you have plugged it in and turned on the ignition, LED indicators on the camera will illuminate.
Conclusion
Dash cams are easy to install; that’s one of the reasons they are so popular! Safety on the road is paramount, especially for fleets who spend so much time driving. When an accident does occur, dash cams can exonerate your driver of any fault, saving you money and time. There are so many benefits to having dash cams that there aren’t any reasons not to have one. Azuga is a leader in dash cam technology. Reach out to Azuga to see about your dash cam options today. Once installed, if you ever have any trouble with your dash cam, Azuga’s support team is available to assist you. Azuga has your back every step of the way.