We’ve discussed in several articles how to install a front dash cam on your vehicles, but we’ve never reviewed how to install a rear-view dash cam. Rear-view dash cameras can be just as important as front-view dash cams. They’re the only cameras that can catch rear-ending accidents, and they can also be crucial when it comes to helping others if an accident occurs behind you. Let’s discuss how to install a rear-view dash cam.
What You’ll Need
Let’s get started! As with any installation, you’ll need to gather everything you need. Installing dash cams involves a lot of things you likely already have lying around your garage.
- Dash cam
- Rear-view dash cam
- Dash cam hardware kit
- Gloves
- Cable ties
- Trim tool
- Socket set
- Multimeter
- Screwdrivers
- Insulation tape
- Cable cutters
How to Install a Rear-View Dash Cam
Installing a rear-view dash cam involves seven steps. Much of it involves linking the rear-view dash cam to your front dash cam. For the purposes of this article, we will start from the point where you already have your front dash cam installed. Here is where you go from there:
- You must ensure there isn’t any interference with your car radio’s signal. This means connecting the front camera to the rear camera by passing the cable over the seats to the rear.
- Choose a position for your rear dash cam. Many people position it at the bottom of their rear windshield, in the center.
- Now, you must plan the route your wires will take from the back dash cam to the front one. Whether you root the wiring from the front or back of the vehicle depends on the camera connector. You should route along the passenger side of your vehicle in order to avoid antenna wiring, pedals, and the steering column.
- Take your trim tool and remove any trim so you can follow the OEM wiring loom as closely as possible. Use cable ties to secure the wires along the way. Don’t route into the roof liner, as this is where curtain airbags are kept.
- Now it’s finally time to mount the rear camera. Use the adhesive mount supplied with your dash cam kit.
- Connect the cameras and ensure they are working properly.
- Finally, replace and resecure any paneling or trim you removed.
Get the Best Dash Cam on the Market
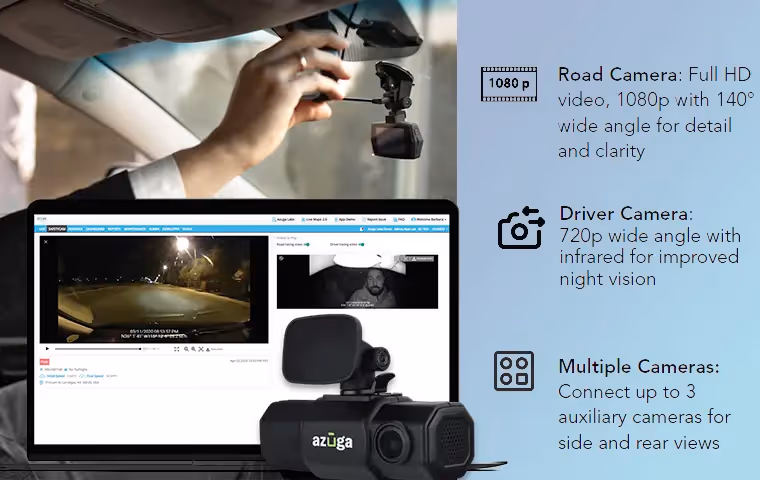
Azuga is here to help you achieve your safety goals. Our AI Safety Cam connects with rear and side cameras to give you a comprehensive view of everything going on around your vehicle. Real-time alerts tell you when your drivers may be distracted or driving dangerously. Set up a safety plan and speak with one of our experts to see how we can work together today!